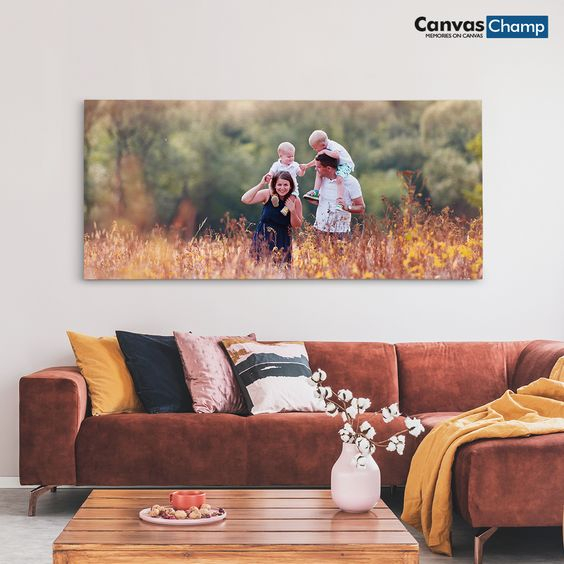
How to Hang Canvas Prints on the Wall

Canvas prints on gallery walls are simply breathtaking to view in any room of the house. If you have large canvas prints and not sure how to hang them on a wall, then you’ve accidentally surfed on the right blog. No matter whatever the size, if you follow the step-by-step guide below on how to hang a picture on the wall, you’ll always have a beautiful home to live in every time you look around.
First of all, you’ll need to figure out the kind of gallery theme you want for each of the room or the room you want to hang the prints on. Do you just have a huge family photo or natural landscapes on 50x50 canvas prints? Will the hallway pop out with wedding photos or photos of your kids? You can consider many styles, sizes and arrangements to hang the pictures. So, once you conclude on these questions above, you’ll need to measure your wall space.
Measuring Out Your Wall Space
Use a pencil and some tape to mark the entire estimated area wherever you will be placing your pictures. Once you've measured from side to side and top to bottom, you can determine how many images you'll want on the wall. For a small wall, two adjacent canvas photo prints will fit perfectly. For a larger area, you can fuse several small, medium and a couple of large prints to decorate your wall nicely.
How To Create A Photo Wall Layout
An excellent method for hanging your pictures is to use craft paper as place holders to see how you want to arrange the photos. Though it would be an easy project, you'll want to set aside a few hours to get it all done. For planning out your design, you'll need a pencil, some craft papers, scissors, your delivered artwork and tape.
Step 1: Size up your canvas prints on craft paper and trace the edges on it. Cut the craft papers one at a time. You don't have to be precise with your cutting. We just want to try to arrange and see how the layout of the canvas will look like on the wall and not the papers.
Step 2: Arrange your pictures on the floor with how you want the story-telling look like on the wall. This will give you an overall idea of the order you'll use on your wall. Keep in mind; you can rearrange over and over with the prints on the floor because once you drill the holes on the wall, it would become difficult then to shuffle if the sizes of the prints vary. This is why we are using craft paper layout on the wall for now.
Step 3: Start taping the craft paper cuts to the wall. Leave at least two inches between larger photos and about 1.5 inches between smaller ones to get a clean look. If you don't have too many canvas prints to place, just make sure all spaces are equal from the adjacent hanging decorations anyways.
Step 4: Now replace each craft paper on the wall with its corresponding canvas print and mount them to the wall to conclude the desired gallery wall look. Use a level for a straighten up any crooked print.
Choosing the right medium for your photos and layout for it in each room can make all the difference. So mix up different media, sizes and even shapes to create a unique aura of your living space. You can avail canvas prints with free delivery on CanvasChamp UK with the best industry-standard prints to decorate your home. No coupon is required to avail free shipping anywhere in the UK. So visit the website to get the best options in customisation of your prints to hang on your wall.